QuickBooks Desktop is an accounting and bookkeeping software that comes in with the feature of maintaining Inventory. Inventory is the stock of goods and materials held by a business for utilization or resale. The Inventory feature is essential to keep you updated about your warehouse. Follow our blog below to know more about how to set up inventory in QuickBooks.
You can also avail expert advice on the same on our 1.800.579.9430
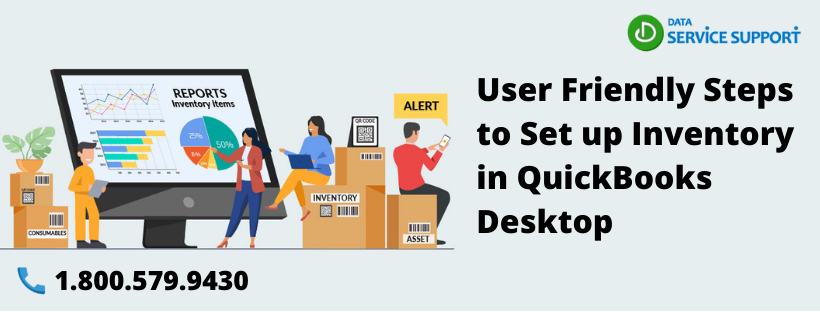
Setting up Inventory
Enable the Inventory Feature
To start maintaining Inventory records, it is essential to enable the Inventory feature first. Here’s how:
- Click on Edit > Preferences.
- Choose Items & Inventory > Company Preferences.
- Select Inventory and Purchase Orders are active.
- Hit OK to save.
To Turn on Advanced Inventory
- Select Help> Manage My License > Sync License Data Online.
- Check if Advanced Inventory Settings is greyed out.
- Close and reopen QuickBooks.
- Follow again till Step 3 > Select Advanced Inventory Settings > OK.
Setting up Advanced Inventory
The Advanced Inventory is an upgrade to the Inventory feature in QuickBooks Desktop. It comes in with added benefits of Bin Location Tracking, FIFO Costing, Barcode Scanning etc. Follow below to set up inventory in QuickBooks-
Step 1: Adding Inventory Sites
Here, you can add information about the sites where your Inventory is stored.
- Go to Lists > Inventory Site List > Site > New.
- Enter the location/site where you stock your Inventory. Repeat for multiple sites.
Step 2: Fixing Reorder points
This is a valuable feature to know if your Inventory is going below a certain level.
- Go to List > Inventory Site List > Activities > Set Reorder Points.
- Enter the site and choose an item to set reorder points in.
- Click OK to save.
Step 3: Setting the Start Stock on each Site
You can only add a single temporary site when you turn on Advanced Inventory. This means all your Inventory is stocked up at a single location. Later, you can distribute your Inventory by transferring it to a different one.
- Go to Inventory menu > Transfer Inventory.
- Enter the Date on which you have recorded the Inventory.
- Enter Reference Number > Transfer.
- From the TO menu, select the leading inventory site.
- In the Quantity to Transfer column, enter the number of units to be transferred.
- Click Save. Repeat the process to transfer any other inventory site.
- After finishing, hit Save and Done.
Adding Items in the Inventory
Once you have enabled the feature, you can start adding the items to the list.
- Click on Items & Services on the Dashboard.
- Get to Item List >Item > New.
- From Type, choose the suitable Inventory Part
- Item Name/Number- Enter the name of your product. This should be unique for each item.
- Unit of Measure- This is a Premier or above feature. You can leave this blank.
- Purchase Information
- Sales Information
- You will automatically be displayed the Cost of Goods Sold on the screen.
- In the Income category, add the exact amount.
- Click on OK to save.
Adjusting items in Inventory
As QuickBooks Desktop is a dynamic software, your Inventory will also be updated regularly. This will require some periodical adjustments to ensure correct information. This is how you can do so-
Understand the Type of Adjustment
- Adjusting a particular item– It is alright to amend the numbers for a specific product. This can be due to the replacement of the item or a change in its quantity.
- Adjusting the total value– This is the complete inventory adjustment, usually due to a change in trend or season.
Set up Inventory Adjustment Account
A separate account has to be created which addresses all the adjustments made.
- Select Company > Chart of Accounts.
- Go to Account > New.
- Hit Other Types of Accounts > Cost of Goods Sold.
- Name this account as Inventory Adjustments > Save and Close.
Adjust Inventory
Here, you can change the value, quantity or both.
- Select Vendors > Inventory Activities > Adjust Quantity/Value on Hand.
- From Inventory > Adjust Quantity/ Value on Hand.
- Go to Adjustment Type > Quantity/ Total Value.
- Enter the Adjustment Date.
- Select Adjust Account > Add the Reference Number.
- Hit Find & Select Items and select the Items you wish to adjust.
- Click on Add Selected Items > Add the quantity/value.
- Save and Close.
Ensure Correct Inventory Status
Go through the changes you have to eliminate any duplication errors.
- Select Reports > Inventory.
- Go to Inventory Valuation Summary to check the product value.
- Go to Inventory Stock Status by Item to check the product quantity.
- Re-check the adjustments.
Deleting Items in Inventory
If you no longer require an item in your stock, you can remove it from your Inventory. To do so, first, you must delete all the transactions related to the article. Here’s how-
- Go to List > New > Inventory Part.
- Get to the Items list and select the item you wish to remove.
- Click Quick Report; from the Date menu, select All.
- Right-click on the transactions and click Delete to remove them from the record.
- Select the item to delete and hit Delete.
Inventory is an inbuilt feature of QuickBooks Desktop to help you operate your stock and warehouse right from your desktop. It assists you to record the intake and the orders in process, which automatically increases the items you receive. For further detailed procedure on how to set up inventory in QuickBooks, our team of experts is always available for you at 1.800.579.9430.