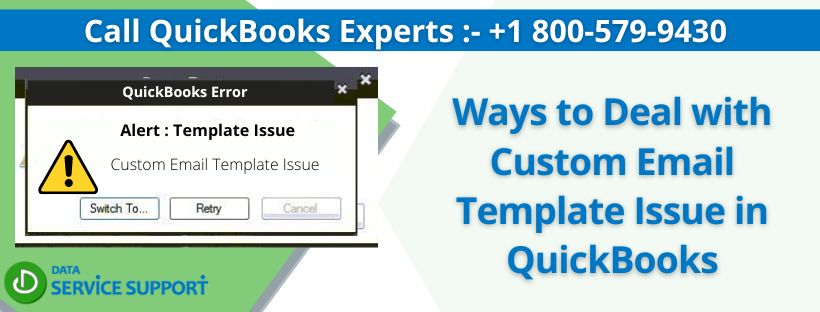
Every year, QuickBooks rolls new features, and this makes the accounting tasks easy for users. The primary reason for the success of QuickBooks is that it helps efficiently accomplish tasks. As we talk about efficiency, why miss out on a Custom email template in QuickBooks. It allows users to have personalized emails for the customers and vendors. Still, at the same time, with an inability to carefully create these email templates, you may face Custom email template issues.
If you are noticing that your email templates are not appearing when sending emails, then follow this blog for solutions.
In addition, if you have urgent emails to send or the Custom email template issue affects other QuickBooks operations, call the support team on +1 800-579-9430
What are Customized Email Templates?
Before talking about the issues linked to customize email templates, let us see what the benefits of this feature and how users use it are. Using these personalized templates, users can send messages through QuickBooks. It gives the ability to have prepared subject lines and email bodies for different types of transactions. After creating these email templates, you just have to choose dedicated ones when sending an invoice, estimates, or any other transaction.
How to Create a Custom Email Template in QuickBooks?
In order to avoid later issues with the custom email template, we suggest using the right way to create these templates. If you are new to this feature, here are the steps you must use to personalize your emails for vendors and customers.
Step 1: Create a personalized email template
- First, you must use the QuickBooks admin credentials to log in.
- If you do not have admin credentials, ensure that your user has the right to make changes to the company preferences.
- Next, click on the File menu.
- Choose Switch to Single-User Mode.
You can create more than one template for each type of transaction; all you have to do is use the above steps for each template.
- Navigate to the Edit menu.
- Choose Preferences.
- Click on the Send forms menu.
- Now you must go to the Company Preferences tab.
- Use the Delivery Method Default drop-down to choose the Email option.
- Next, use the Email Templates drop-down menu to choose the transaction type.
- Click on the Add Template button.
- Assign a name to the template.
- Add a subject line and body for the personalized email.
- To add a dynamic data field, the option of Insert Field comes in handy. As a result, you can add actual data like the customer name or due date from the form in order to fill out the field.
Tip: You must know that the above data can also be typed manually in the email body with the condition that they match the prefilled options.
- After the customization, click on Save.
- On selecting the template, hit on OK. With this, you will save your changes.
If you want to see the custom email templates, use the Send forms menu and then click on Company Preferences.
To set a default template, you must click on transaction type, and next to the template you want to set as default, click on Set Default.
Step 2: Making use of a custom email template
You can use your custom email template for emails related to:
- Single transactions, pay stubs or batch emails.
- Let us share the steps for your reference.
- Suppose you want to create an Invoice, click on Email.
Select the Invoice option, and the application will apply the default option for this transaction type.
Read more :- How to Fix QuickBooks Company File Not Open
Solutions to Fix Custom Email Template Issue in QuickBooks
After following the right ways to make custom email templates in QuickBooks Desktop, if you still face issues, here are the steps that you must use to fix them. Our experts have worked to find the best solutions for you, and we hope you are able to fix them.
Solution 1: Copy and paste the right message before sending the email
The first solution to resolve the custom email template issue is to use the right message before hitting the send button for the email. Here are the steps for the same.
- First, click on the Edit menu and then choose Preferences.
- Navigate to the Send Forms menu.
- Select the Company Preferences option.
- Click on Edit next to the template you want to use.
- Copy the body text of the message.
- You must now click on the File menu.
- Choose the Send Forms option.
- Click on the email that you want to send ahead.
- In the body of the email, paste the text you copied earlier.
Note: For users of QuickBooks Desktop Enterprise, you must use the Edit Email option first.
- Hit on the Send Now button.
Solution 2: Reset the default email settings
Any changes made to the email settings can also be causing the custom email template issue.
- First, you must search for the transaction you want to send and then open it.
- Now click on the Email Later box to uncheck it.
- Select the Save & Close button.
- Relaunch the transaction.
- You must click on the Email Later box to select it.
- Click on Save & Close.
The above steps will add your transaction to the email queue. Then, every time you send an email, based on the transaction, QuickBooks will use the new default template now.
We hope our extensive blog on custom email template issues was able to cover every section under this topic. On carefully using the solutions in the blog, you will be able to use this feature of QuickBooks, but if the error persists and there seems to be no way out, we suggest using support team’s assistance by calling on +1 800-579-9430.
